Registration Node-RED application with Cloudant
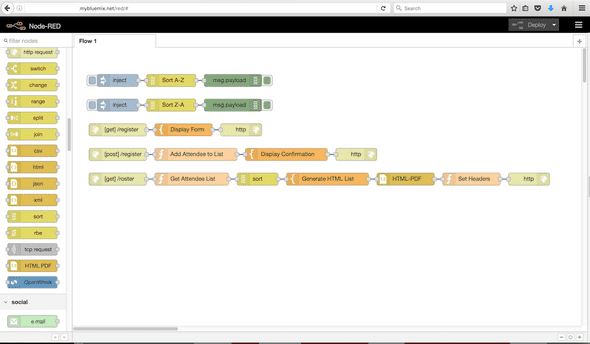
August 29, 2016 | Node-REDIn my last blog post, I shared my newest Node-RED lab, Custom Nodes in Node-RED. I showed how to create a custom node to sort an array, use a HTML PDF node from the Node-RED community, and build a registration application in a Node-RED application running on IBM Buemix.
At the end of the lab I leave a challenge to the developer to make the application persistent. Let me explain a bit more.
Node-RED has a global context that lives in memory. When you store data, such as with the JavaScript in the following code, it isn’t written to disk, to a database, or any persistent storage.
global.set('attendeelist', ['Joe', 'Alex', 'Mary']);When the Node-RED application stops, this data goes bye-bye. A Node-RED application could stop for a number of reasons:
- Cloud Foundry restarts the application instance
- you bind a new service and restage the application
- you intentionally shut down the instance
- Node-RED crashes
Using the global context in this case isn’t the best idea after all. In this blog post, I’ll show how a couple of changes to the flows can utilize a Cloudant NoSQL database and make the list live on.
If you’re running Node-RED on IBM Bluemix, the good news is you don’t have to create any new services. Behind the scenes, Node-RED uses a Cloudant NoSQL database to store the flows, for a similar reason as I mentioned above. You see, if Node-RED kept the flows in memory, they would disappear on a restart. If Node-RED stored the flows in the filesystem, as a locally installed Node-RED application does, when IBM Bluemix redeploys the application the flows would be lost as the filesystem isn’t retained. So, keeping the flows in Cloudant makes a lot of sense.
Using the Cloudant nodes that are included in the node-red-node-cf-cloudant npm package, we can add them into the flow and select a database.
For the flow connected to the POST /register node, we’ll add three nodes and modify two existing nodes.
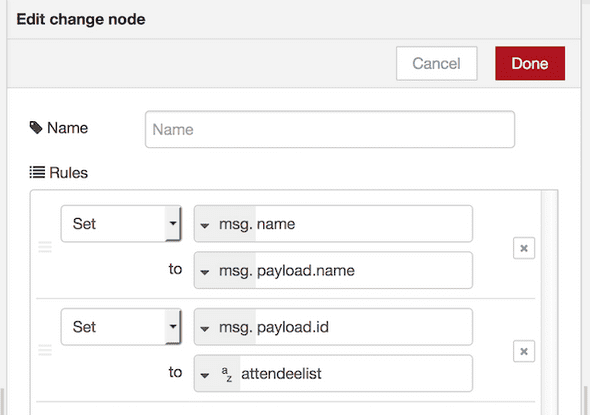
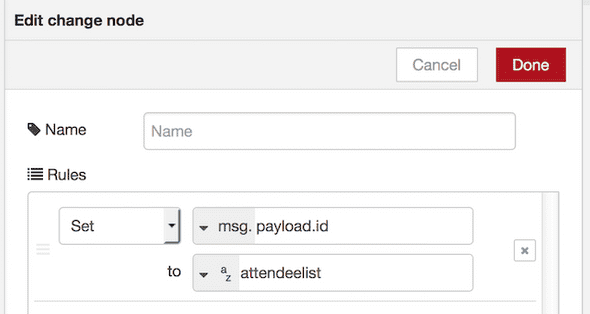
Add a change node to move the name property from the payload to the msg object. This saves the name from being overwritten in the msg.payload object. Set the id property to set the id of the document id we’ll pull from Cloudant.
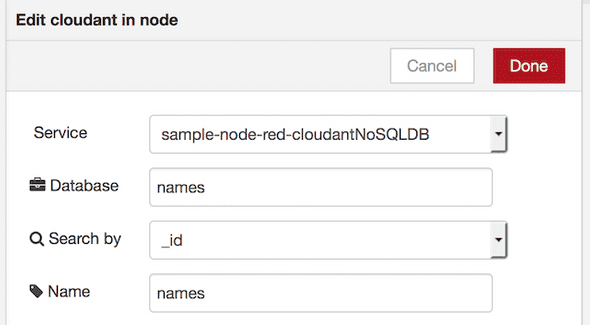
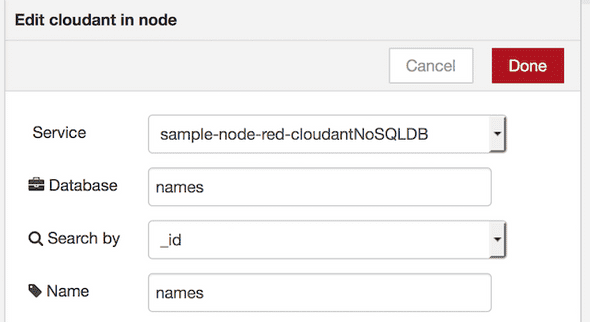
Connect a cloudant in node, using a database name such as names.
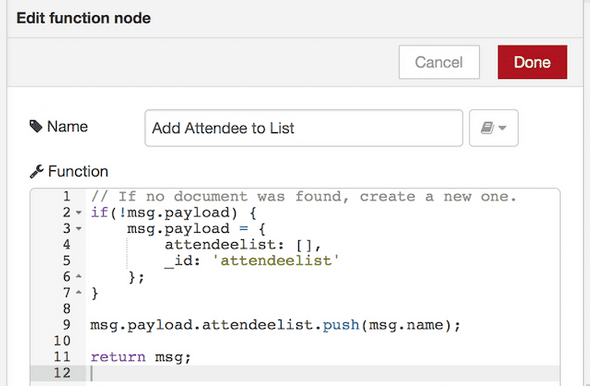
Modify the existing node labeled Add Attendee to List. Instead of using the global context, we’ll check to see if the attendee list document exists in Cloudant. If not, we’ll create one. Instead of storing the list back into the global context, we’ll append it the msg.payload.attendeelist property.
// If no document was found, create a new one.
if(!msg.payload) {
    msg.payload = {
        attendeelist: [],
        _id: 'attendeelist'
    };
}

msg.payload.attendeelist.push(msg.name);

return msg;
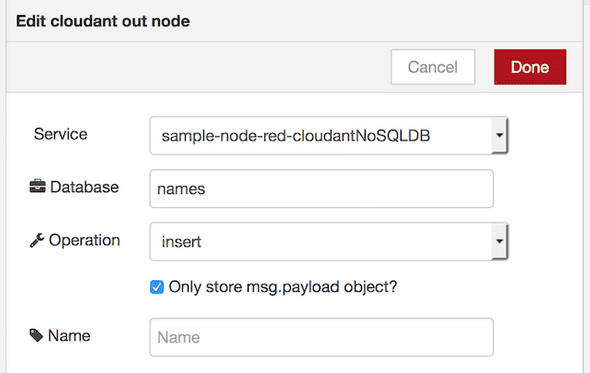
Add a Cloudant out node which will take the msg.payload and store it in a JSON document in the Cloudant database.
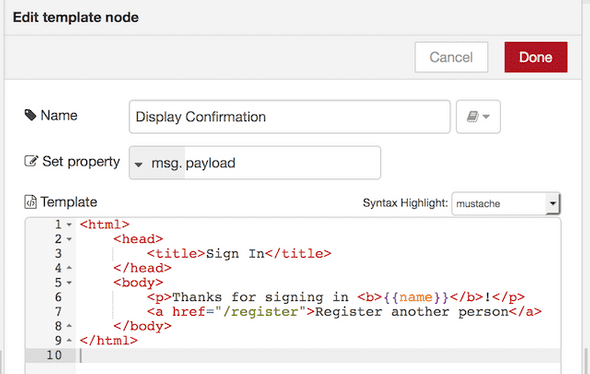
Lastly, modify the Display Confirmation template and change {{payload.name}} to {{name}} to read the msg.name property.
The modified flow should look like the one shown below.
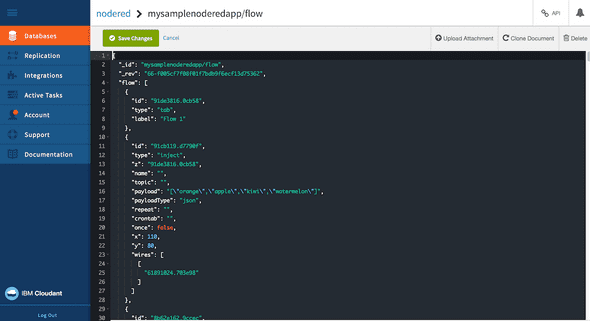
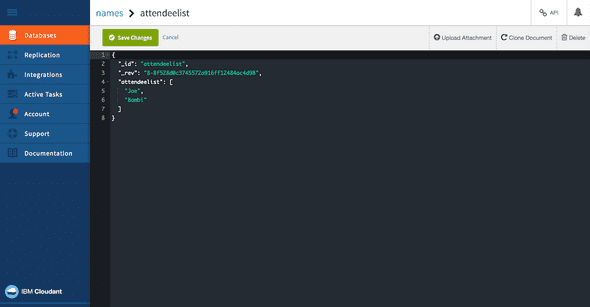
If we submit a name or two and look at the document in the Cloudant dashboard (access the dashboard through the service tile in your IBM Bluemix account), we’ll see the document expanding.
For the flow connected to the GET /roster node, we’ll add a couple of new nodes.
Add a change node to set the id of the document we’ll pull from Cloudant.
Add a Cloudant out node which gets the document, if it exists, from our database.
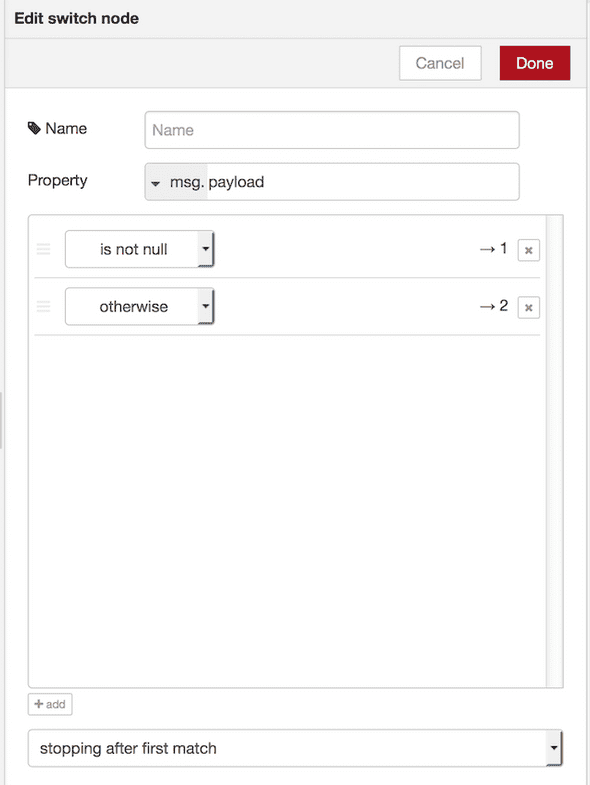
Add a switch node. This will check to see if the document exists and was returned.
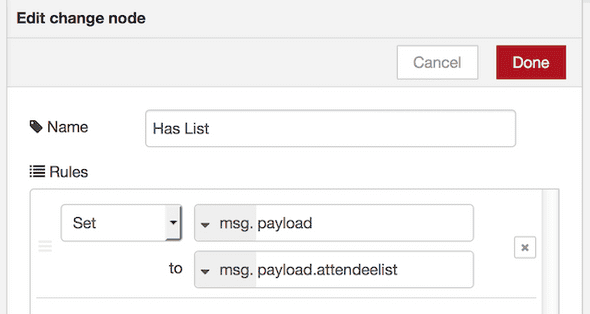
For the case that the document does exist, add a change node to move the attendeelist into the msg.payload property.
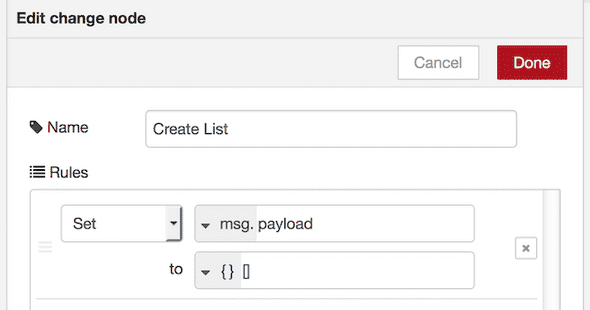
For the case that the document doesn’t exist, add another change node to set the msg.payload to an empty array.
This will make sure the msg.payload is an array, empty or populated with names. Both this scenarios are then passed to the sort node with the completed flow shown below.
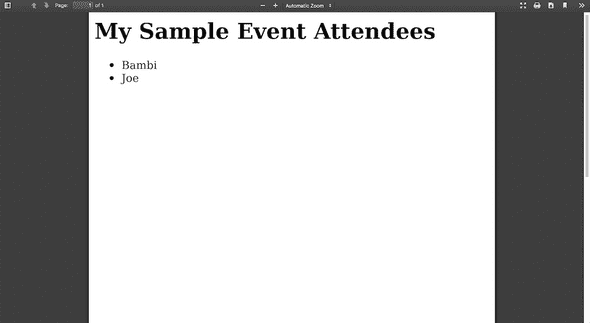
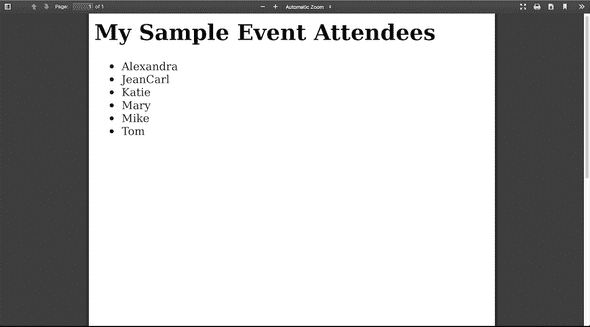
Go visit the /roster endpoint of your Node-RED application.
To see what happens if the Bluemix application restarts, open a new window and go to the application overview. Click on the restart icon. When the application comes back online, the list will remain.
Oh, and there’s one more thing that’s left. How do you clear out the list?
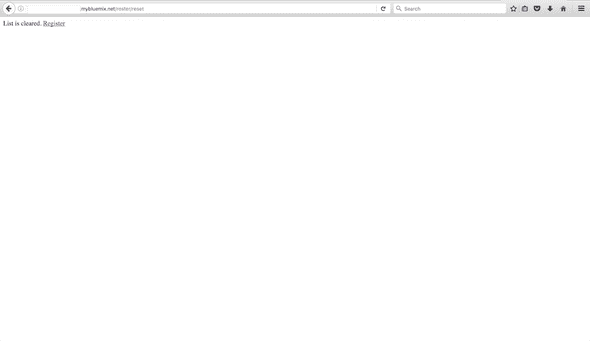
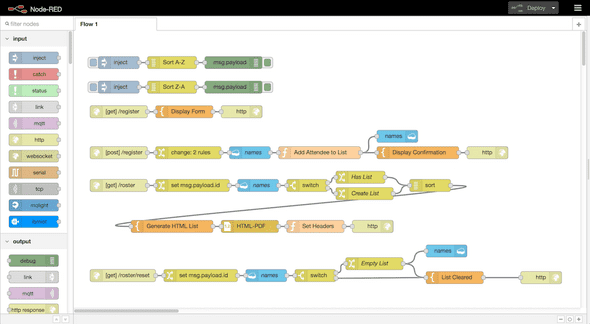
I added a /roster/reset endpoint that fetches the attendeelist document in Cloudant, and if it exists, sets it to an empty array and stores in back into Cloudant. The JSON is shown below.
[{"id":"5b4b22dc.61ee4c","type":"http in","z":"91de3816.0cb58","name":"","url":"/roster/reset","method":"get","swaggerDoc":"","x":120,"y":600,"wires":[["51bbe093.193fd"]]},{"id":"ea2d7463.bdc538","type":"template","z":"91de3816.0cb58","name":"List Cleared","field":"payload","fieldType":"msg","format":"handlebars","syntax":"mustache","template":"\n \n <p>List is cleared. <a href="/register">Register</a></a></p>\n \n\n","x":960,"y":605,"wires":[["1a2d5124.ce8247"]]},{"id":"1a2d5124.ce8247","type":"http response","z":"91de3816.0cb58","name":"","x":1141,"y":605,"wires":[]},{"id":"11ff7f50.11b839","type":"cloudant out","z":"91de3816.0cb58","name":"","cloudant":"","database":"names","service":"","payonly":true,"operation":"insert","x":910,"y":540,"wires":[]},{"id":"ae78ad10.af961","type":"cloudant in","z":"91de3816.0cb58","name":"names","cloudant":"","database":"names","service":"","search":"_id_","design":"","index":"","x":470,"y":600,"wires":[["3cde74b8.0ad03c"]]},{"id":"51bbe093.193fd","type":"change","z":"91de3816.0cb58","name":"","rules":[{"t":"set","p":"payload.id","pt":"msg","to":"attendeelist","tot":"str"}],"action":"","property":"","from":"","to":"","reg":false,"x":310,"y":600,"wires":[["ae78ad10.af961"]]},{"id":"3cde74b8.0ad03c","type":"switch","z":"91de3816.0cb58","name":"","property":"payload","propertyType":"msg","rules":[{"t":"nnull"},{"t":"else"}],"checkall":"false","outputs":2,"x":590,"y":600,"wires":[["dae60c18.2c6058"],["ea2d7463.bdc538"]]},{"id":"dae60c18.2c6058","type":"change","z":"91de3816.0cb58","name":"Empty List","rules":[{"t":"set","p":"payload.attendeelist","pt":"msg","to":"[]","tot":"json"}],"action":"","property":"","from":"","to":"","reg":false,"x":734,"y":571,"wires":[["11ff7f50.11b839","ea2d7463.bdc538"]]}]The completed Node-RED application is shown below. You can find the completed flow in my GitHub repo.
