Project 2: Yo a Pic with Yo
June 15, 2015 |
I enjoy taking pictures of things I see and places I go. However, many of those photos sit on a harddrive, rarely being appreciated. For my second project of my 15 projects in 30 days Challenge, I will use the Yo app to highlight my favorites and inspire me.
If you’re not familiar with the Yo app, it’s very simple to use. You can download the app from the iTunes store here. You add usernames to a colorful list. When you tap on a name, you “yo” them. The yo concept between people is at first a bit boring and hard to realize the potential value. But you can yo services and receive links back to things like blog posts, websites, pictures, etc.
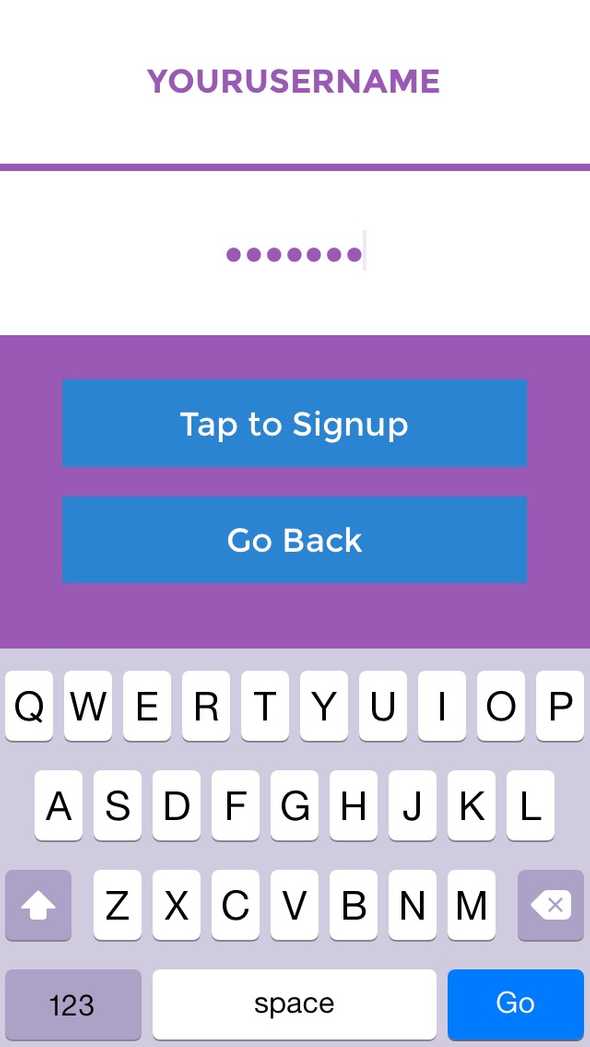
To get started in the iOS app, choose a username and password to sign up.
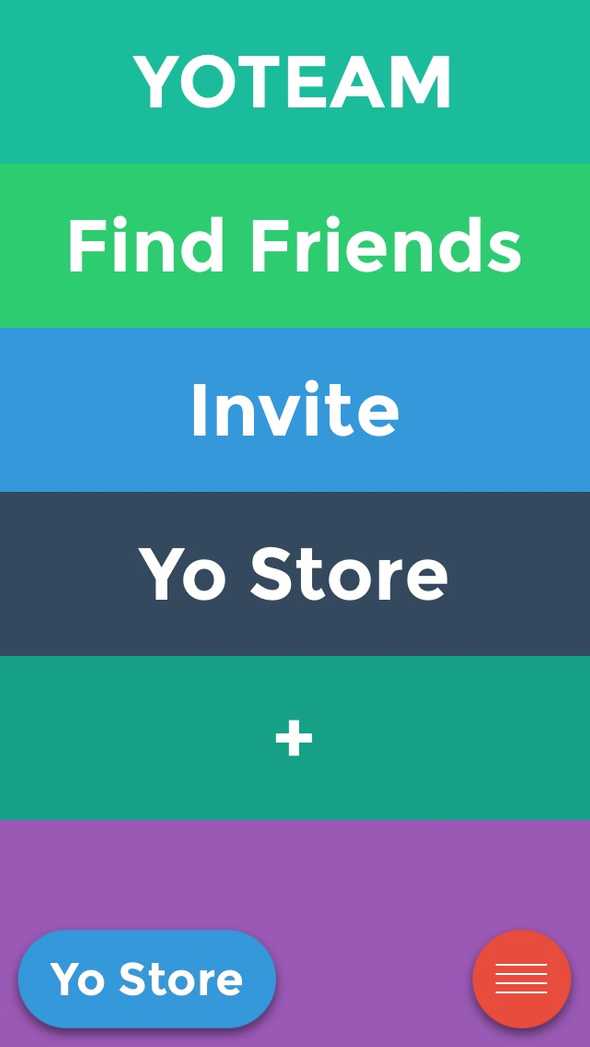
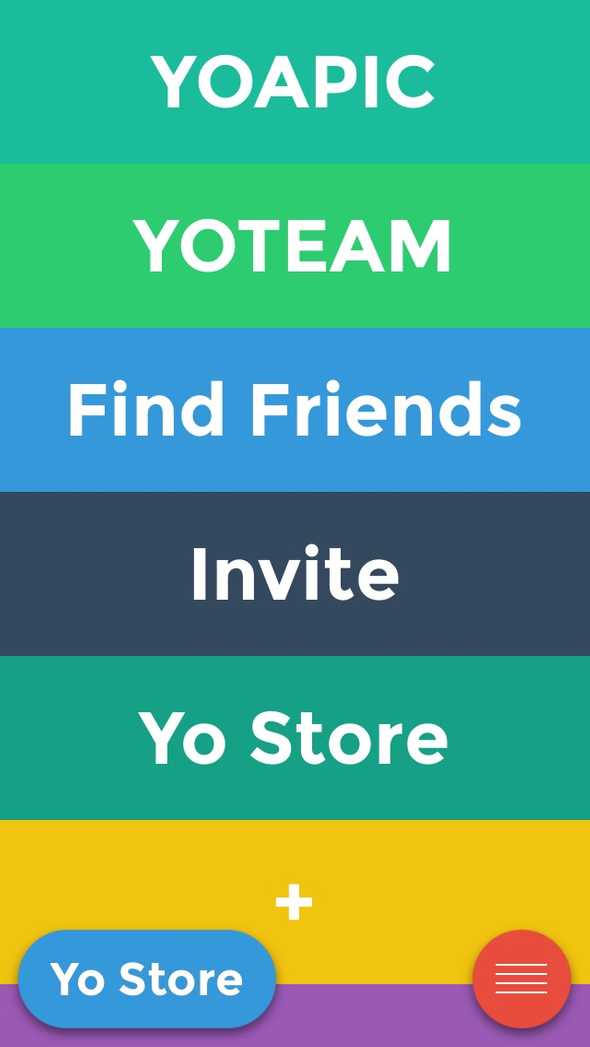
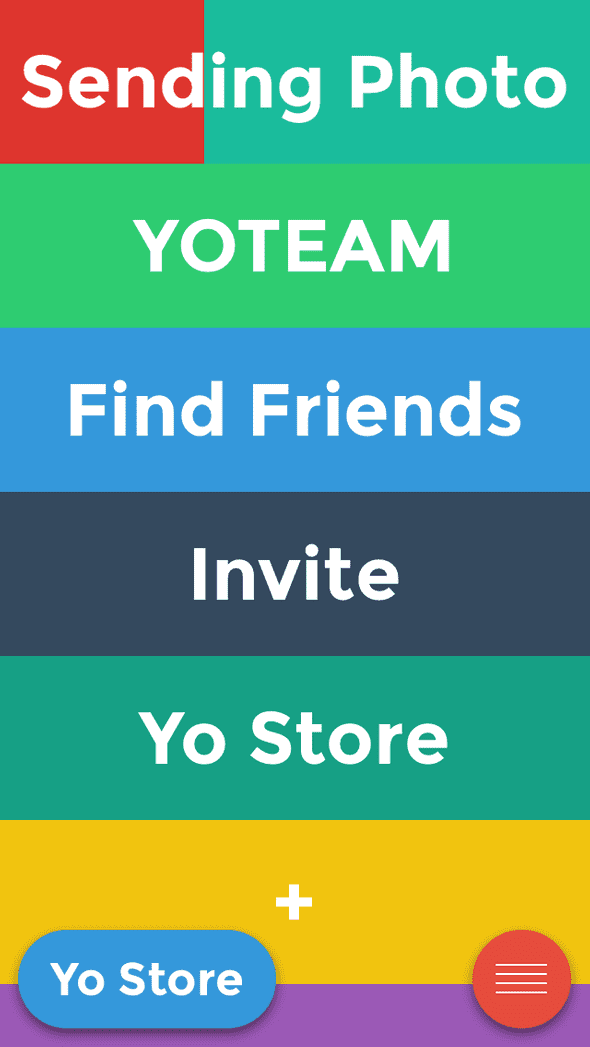
By default, the YOTEAM account is added to the list.
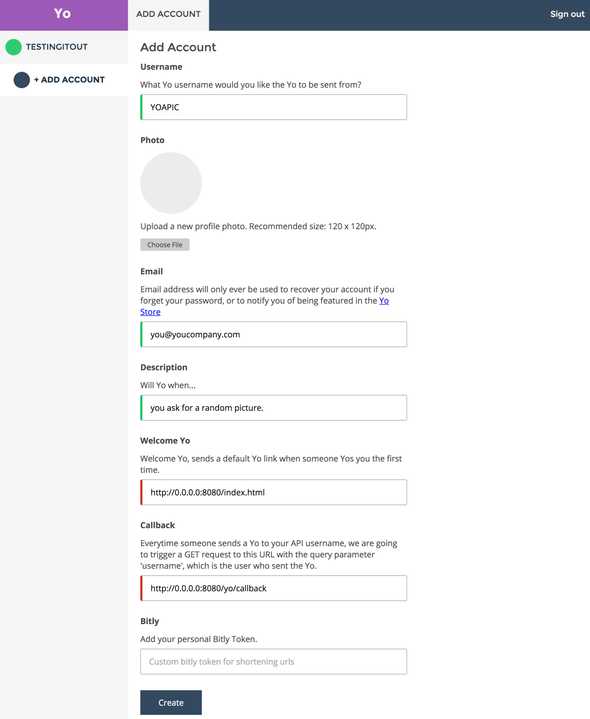
To access the developer resources, head over to https://dashboard.justyo.co/ and login with the same username and password you just signed up with. On the left side is a menu with + Add Account. This is where you can add more accounts and set up a callback URL when an account is yo’ed.
I’m going to set up a new account, YOAPIC, and point it to my Node.js app.
The two URL fields will depend on where you set up the Node.js application. For the rest of the example, I’m going to use the IP address 0.0.0.0 and port 8080 to represent the IP address of the server and port hosting my Node.js application.
For the Welcome Yo URL address, enter http://0.0.0.0:8080/index.html For the Callback URL, enter http://0.0.0.0:8080/yo/callback
Don’t forget to substitute your IP address! Click Create.
MongoDB
We’ll use a MongoDB database to store a reference to each picture sent to the service. If you don’t have MongoDB installed, run the following command:
apt-get install mongodbTo check that it is running, run this command:
service mongodb status
Node.js
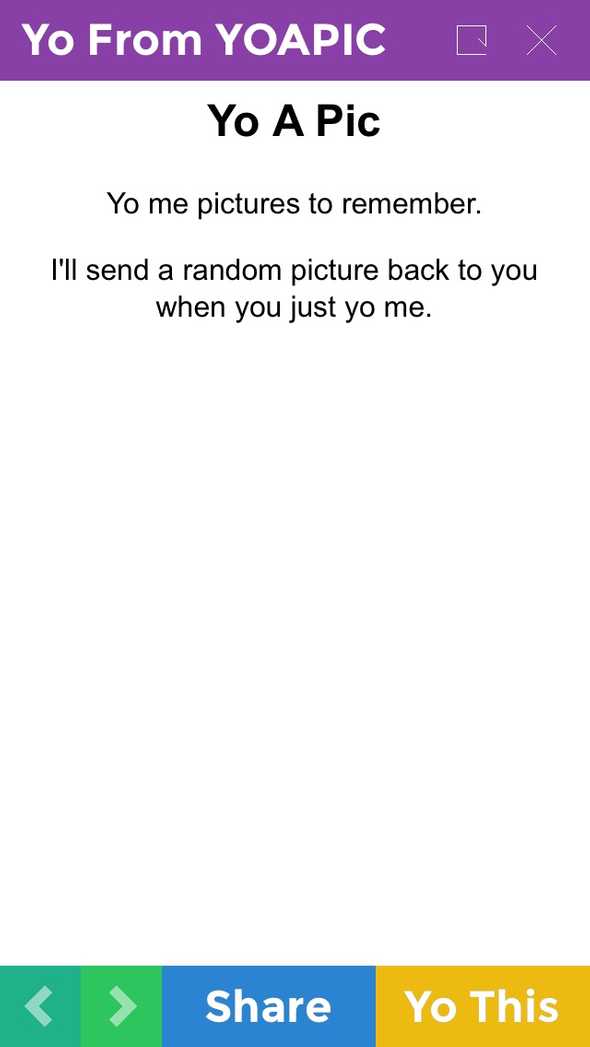
In keeping with the simplicity of the Yo service, we we only have two files, server.js and index.html. index.html serves as the welcome instructions and also as a link to instructions to guide the user when there are no pictures available to send.
// Filename: server.js

// API key for Yo user.
var apiKey = 'XXXXXXXX-XXXX-XXXX-XXXX-XXXXXXXXXXXX';

// The URL for instructions on how to use.
var welcomeLink = 'http://XXX.XX.XX.XXX:8080/index.html';

// Mongo DB server address.
var mongooseServerAddress = 'mongodb://127.0.0.1:27017/test';

// What port to listen to.
var port = 8080;

/*********** End Configuration ***********/

var express = require('express');
var app = express();
var bodyParser = require('body-parser');
var mongoose = require('mongoose');
var http = require('http');
var querystring = require('querystring');
var url = require('url');
var request = require('request');

app.use(bodyParser.json());
app.listen(port);

console.log("App listening on port "+port);

mongoose.connect(mongooseServerAddress);

var PictureSchema = new mongoose.Schema({
    username: String,
    photo: String,
});

PictureSchema.statics.random = function(cb) {
  this.count(function(err, count) {
    if(err)
        return cb(err);

    var rand = Math.floor(Math.random() * count);
    this.findOne().skip(rand).exec(cb);
  }.bind(this));
};

var Picture = mongoose.model('Charlie', PictureSchema);

function sendYo(yo)
{
    // Uncomment if you receive a self-signed certificate in chain error.
    // process.env.NODE_TLS_REJECT_UNAUTHORIZED = "0";

    request(
        {
            url: 'https://api.justyo.co/yo/',
            qs: yo,
            method: 'POST',
        },
        function(error, response, body) {
            if(error || response.statusCode != 200) {
                console.log('Unable to send a Yo!');
            }
        }
    );
}

// Callback handler for Yo service.
app.get('/yo/callback', function(req, res) {
    var query = url.parse(req.url, true).query;

    if('link' in query) {
        var pic = {
            photo: query.link,
            username: query.username
        };

    	Picture.create(pic, function(err, pic) {
            if(err)
            {
                console.log('Unable to add picture to database');
                return;
            }
        });
    } else {
        // Mirror, mirror, on the wall, pick a random picture please!
        Picture.random(function(err, pic) {
            if(err) {
                console.log('Unable to get picture from database');
                return; // We'll ignore an error or no picture.
            }

            // If there is no picture to send back, send the
            // instructions so we can get a picture in the system!
            if(!pic) {
                sendYo({
                    username: query.username,
                    api_token: apiKey,
                    link: welcomeLink
                });

                return;
            }

            // Send the link to the picture.
            sendYo({
                username: query.username,
                api_token: apiKey,
                link: pic.photo
            });
        });
    }
});

app.use(express.static(__dirname + '/public'));
<!-- Filename: index.html -->
<html>
<head>
<meta name="viewport" content="width=device-width, initial-scale=1">
<title>Yo A Pic</title>
</head>
<body style="font-family: Arial; text-align: center">
<h2>Yo A Pic</h2>
<p>Yo me pictures to remember.</p>
<p>I"ll send a random picture back to you when you just yo me.</p>
</body>
</html>To install Node.js, run the following commands:
sudo apt-get update
sudo apt-get install nodejs
sudo apt-get install npm
Some version info:
# nodejs -v
v0.10.25

# npm -v
1.3.10
This project requires a couple of modules to be installed. Run these three commands to install the express, body-parser, and mongoose node modules.
npm install express
npm install body-parser
npm install mongoose
To start the Node.js application
nodejs server.jsLet’s do it!
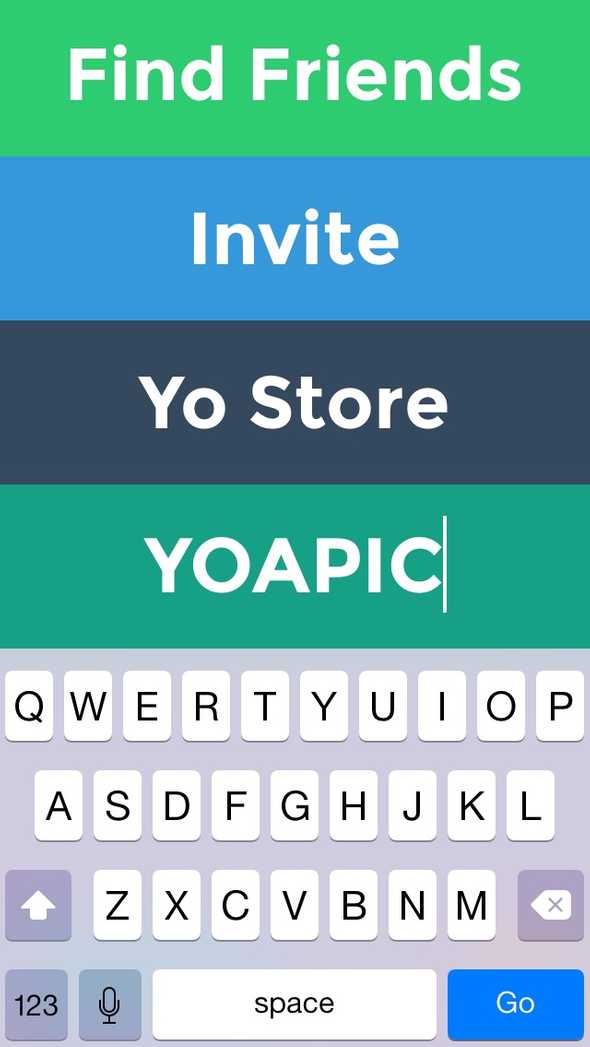
Now the fun part happens. Go back to the Yo app and add the service username (i.e. YOAPIC) we created in the dashboard. There’s a plus sign at the bottom of the list.
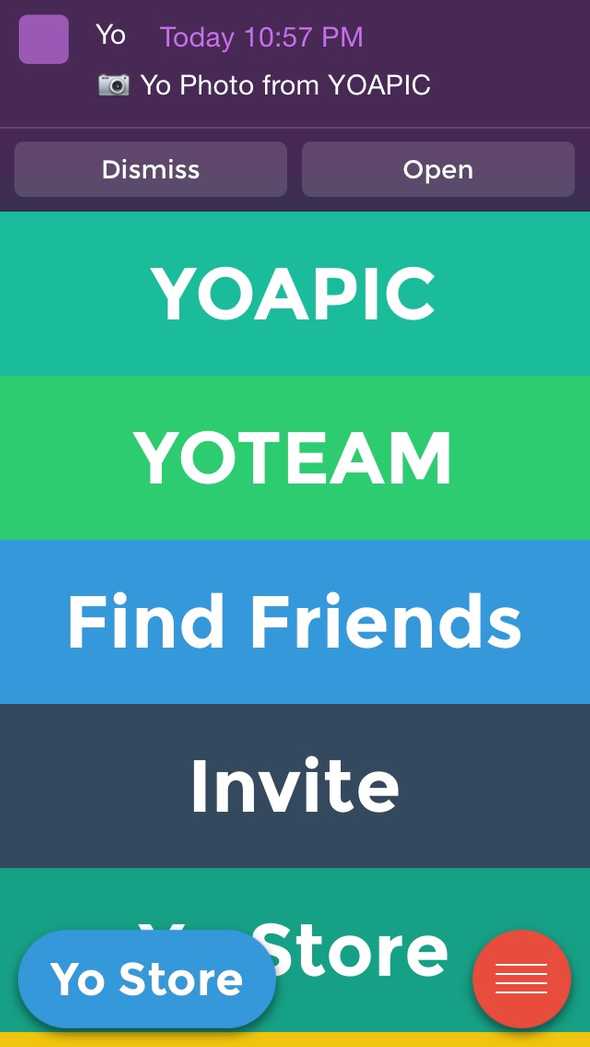
Now you can Yo the service for the first time. Here’s how the process works. The first time you yo the username YOMYPIC, you’ll get a welcome Yo. It’s a link to the index.html URL you specified in the Welcome Yo field during setup. This will give the user a little bit of information on how to use this service.
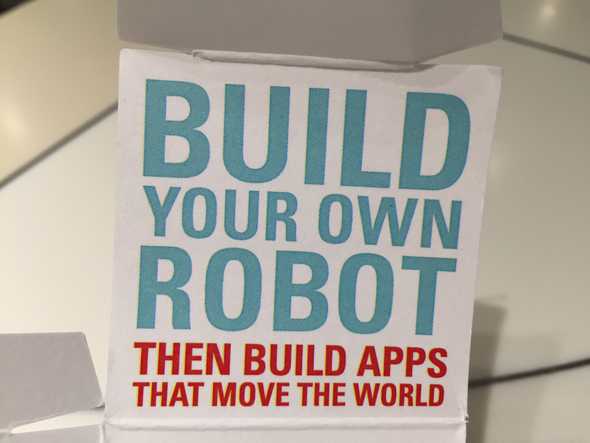
Let’s go ahead and add a picture. Take a picture with your phone. View it in Photos.
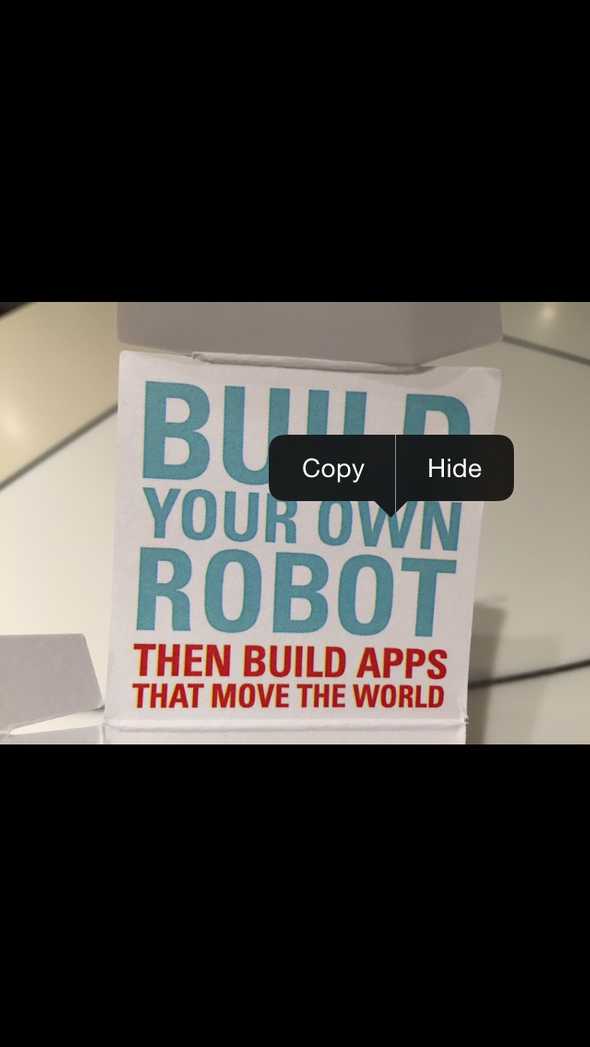
Long press on the picture to get a option to copy it. This copies the photo to the clipboard.
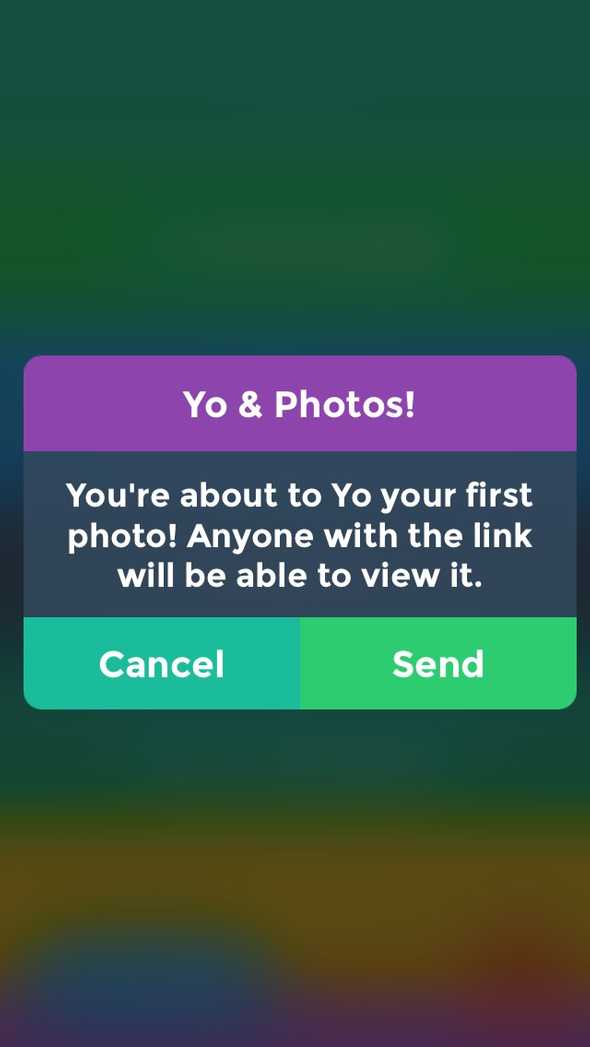
Go back to the Yo app and press and hold down on the username you want to send the photo to. You’ll see a moving red slider go across the screen. When complete, it will Yo the picture to the service.
When that happens, a request is made to /yo/callback?user_ip=XXX.XXX.XXX.XXX&username=YOURUSERNAME&link=http%3A%2F%2Fi.imgur.com%2FXXXXXXX.jpg
There’s two things to note about the query string. username is the user’s account that is yo’ing the picture. The picture is sent as a imgur url in the link query parameter. That’s convenient since we won’t have to worry about storing actual images, just a URL reference.
Our callback handler does two things. If there is a link query parameter present, it will add the username and picture URL into the MongoDB. If there isn’t a picture link attached, we pick a random one from the database and yo it back to the user. In the unlikely event there are no pictures in the database, we send the default Welcome page with instructions on how to use our service, just in case the user forgets how to use it.
Since we have a picture in the database, let’s get a random picture. Tap on the username in the Yo app and wait for the yo response.
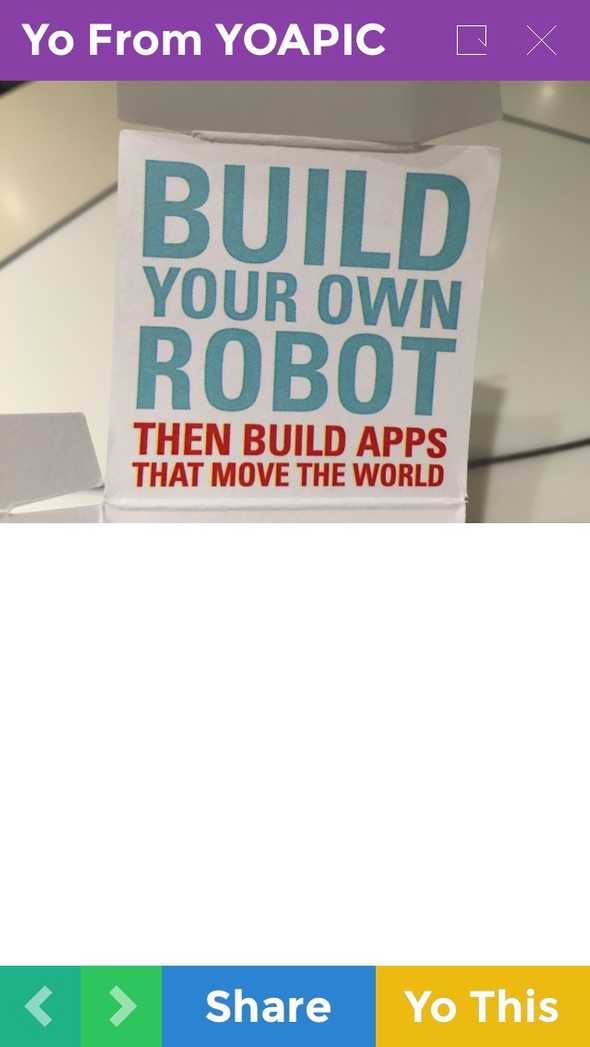
When you open it, you will see the picture you just Yo’d.
Take another picture, copy it, press and hold down the username until the picture is sent. You should have two pictures in the database now. If you send a yo, you should get one of the two pictures. The more pictures there are in the database, the less likely you’ll see the same picture over and over.
Source Code
You can find the repo on GitHub.
That’s all there is for this project. Here are some ideas to enhance it:
- We’re all one big happy family. But I really just want MY pictures back. Right now any picture submitted by any user can be returned to any user. Modify the database query to return only pictures by the inquiring user.
- When a random picture is sent, it’s just the URL to the image. Change the link reference to be something like /yo/show?imageurl=“+pic.photo and enhance the photo viewer. You'll need to add an app.get('/yo/show'.... handler in server.js
- Add the ability to regularly Yo a random picture to a subscriber automatically.
15 Projects in 30 Days Challenge
This blog post is part of my 15 projects in 30 days challenge. I’m hacking together 15 projects with different APIs, services, and technologies that I’ve had little to no exposure to. If my code isn’t completely efficient or accurate, please understand it isn’t meant to be complete and bulletproof. When something is left out, I try to mention it. Reach out to me and kindly teach me if I go towards the dark side. ?
This challenge serves a couple of purposes. First, I’ve always enjoyed hacking new things together and using APIs. And I haven’t had the chance (more like a reason) to dive in head first with things like NodeJS, and MongoDB. This project demonstrated Node.js, MongoDB, and interacting with the Yo API manually.
